

 Are you looking for a gift for a child that excites them so much that you are instantly the hit of the party? Are you looking for a gift that will be so special that it becomes a gift they want use again and again and again? Are you looking for a gift that shows you gave a little extra time, creativity and love to make it (without the time consuming hassles of sewing, knitting, or crocheting a one of a kind, personal gift)? If so, a Simple Soft N Comfy Fleece Blankie might be just what you are looking for.
The Christmas just before my little girl turned two, I decided she needed a blanket made with lots of love by her Mommy. Since I’m not quite the sewer, knitter or crocheter that my mother is, I had to find another alternative. I always loved making fleece tie blankets as gifts for others, but I really wanted to add a unique spin to make one a little more custom…a little more special… for my baby girl. Since my little girl LOVES Minnie Mouse so much, deciding which fleece fabric to use for the print side was easy. But, finding something to make it a little different, a little more special, took a little more thought and imagination.
So, when I started searching for that special little twist I wanted at the fabric store, I knew I found that something special the minute I came across “Soft N Comfy Dot Fabric.” The Soft N Comfy Dot fabric is the softest, cutest and comfiest fabric I have ever come across… just perfect for a baby (or a very special little girl or boy)!
Since I had already found the pink and purple Minnie Mouse fleece pattern I knew she would love, I held it up to the “Soft N Comfy Dot Fabric” and, voila’! I found a perfect match! I choose a light shade of pink that looked so cute and soft next to the Minnie Mouse fleece. And, as its name suggests, the dot fabric is so super Soft and Comfy!!!!
When I took the fabrics to be cut, the woman behind the counter was not all that sure the Dot Fabric would work as the backside to the Fleece tie blanket. But I was determined to try it anyway. I knew I could turn these cute pieces of fabric into the most awesome blanket yet! So, I took my purchases home and went to work. It only took me about 45 minutes to make the complete blanket. When it was all done, I washed it in Dreft laundry detergent – to give it that fresh clean baby freshness, and hung it out to dry.
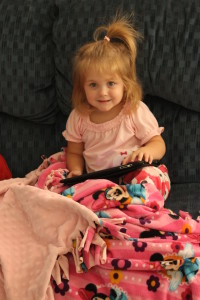
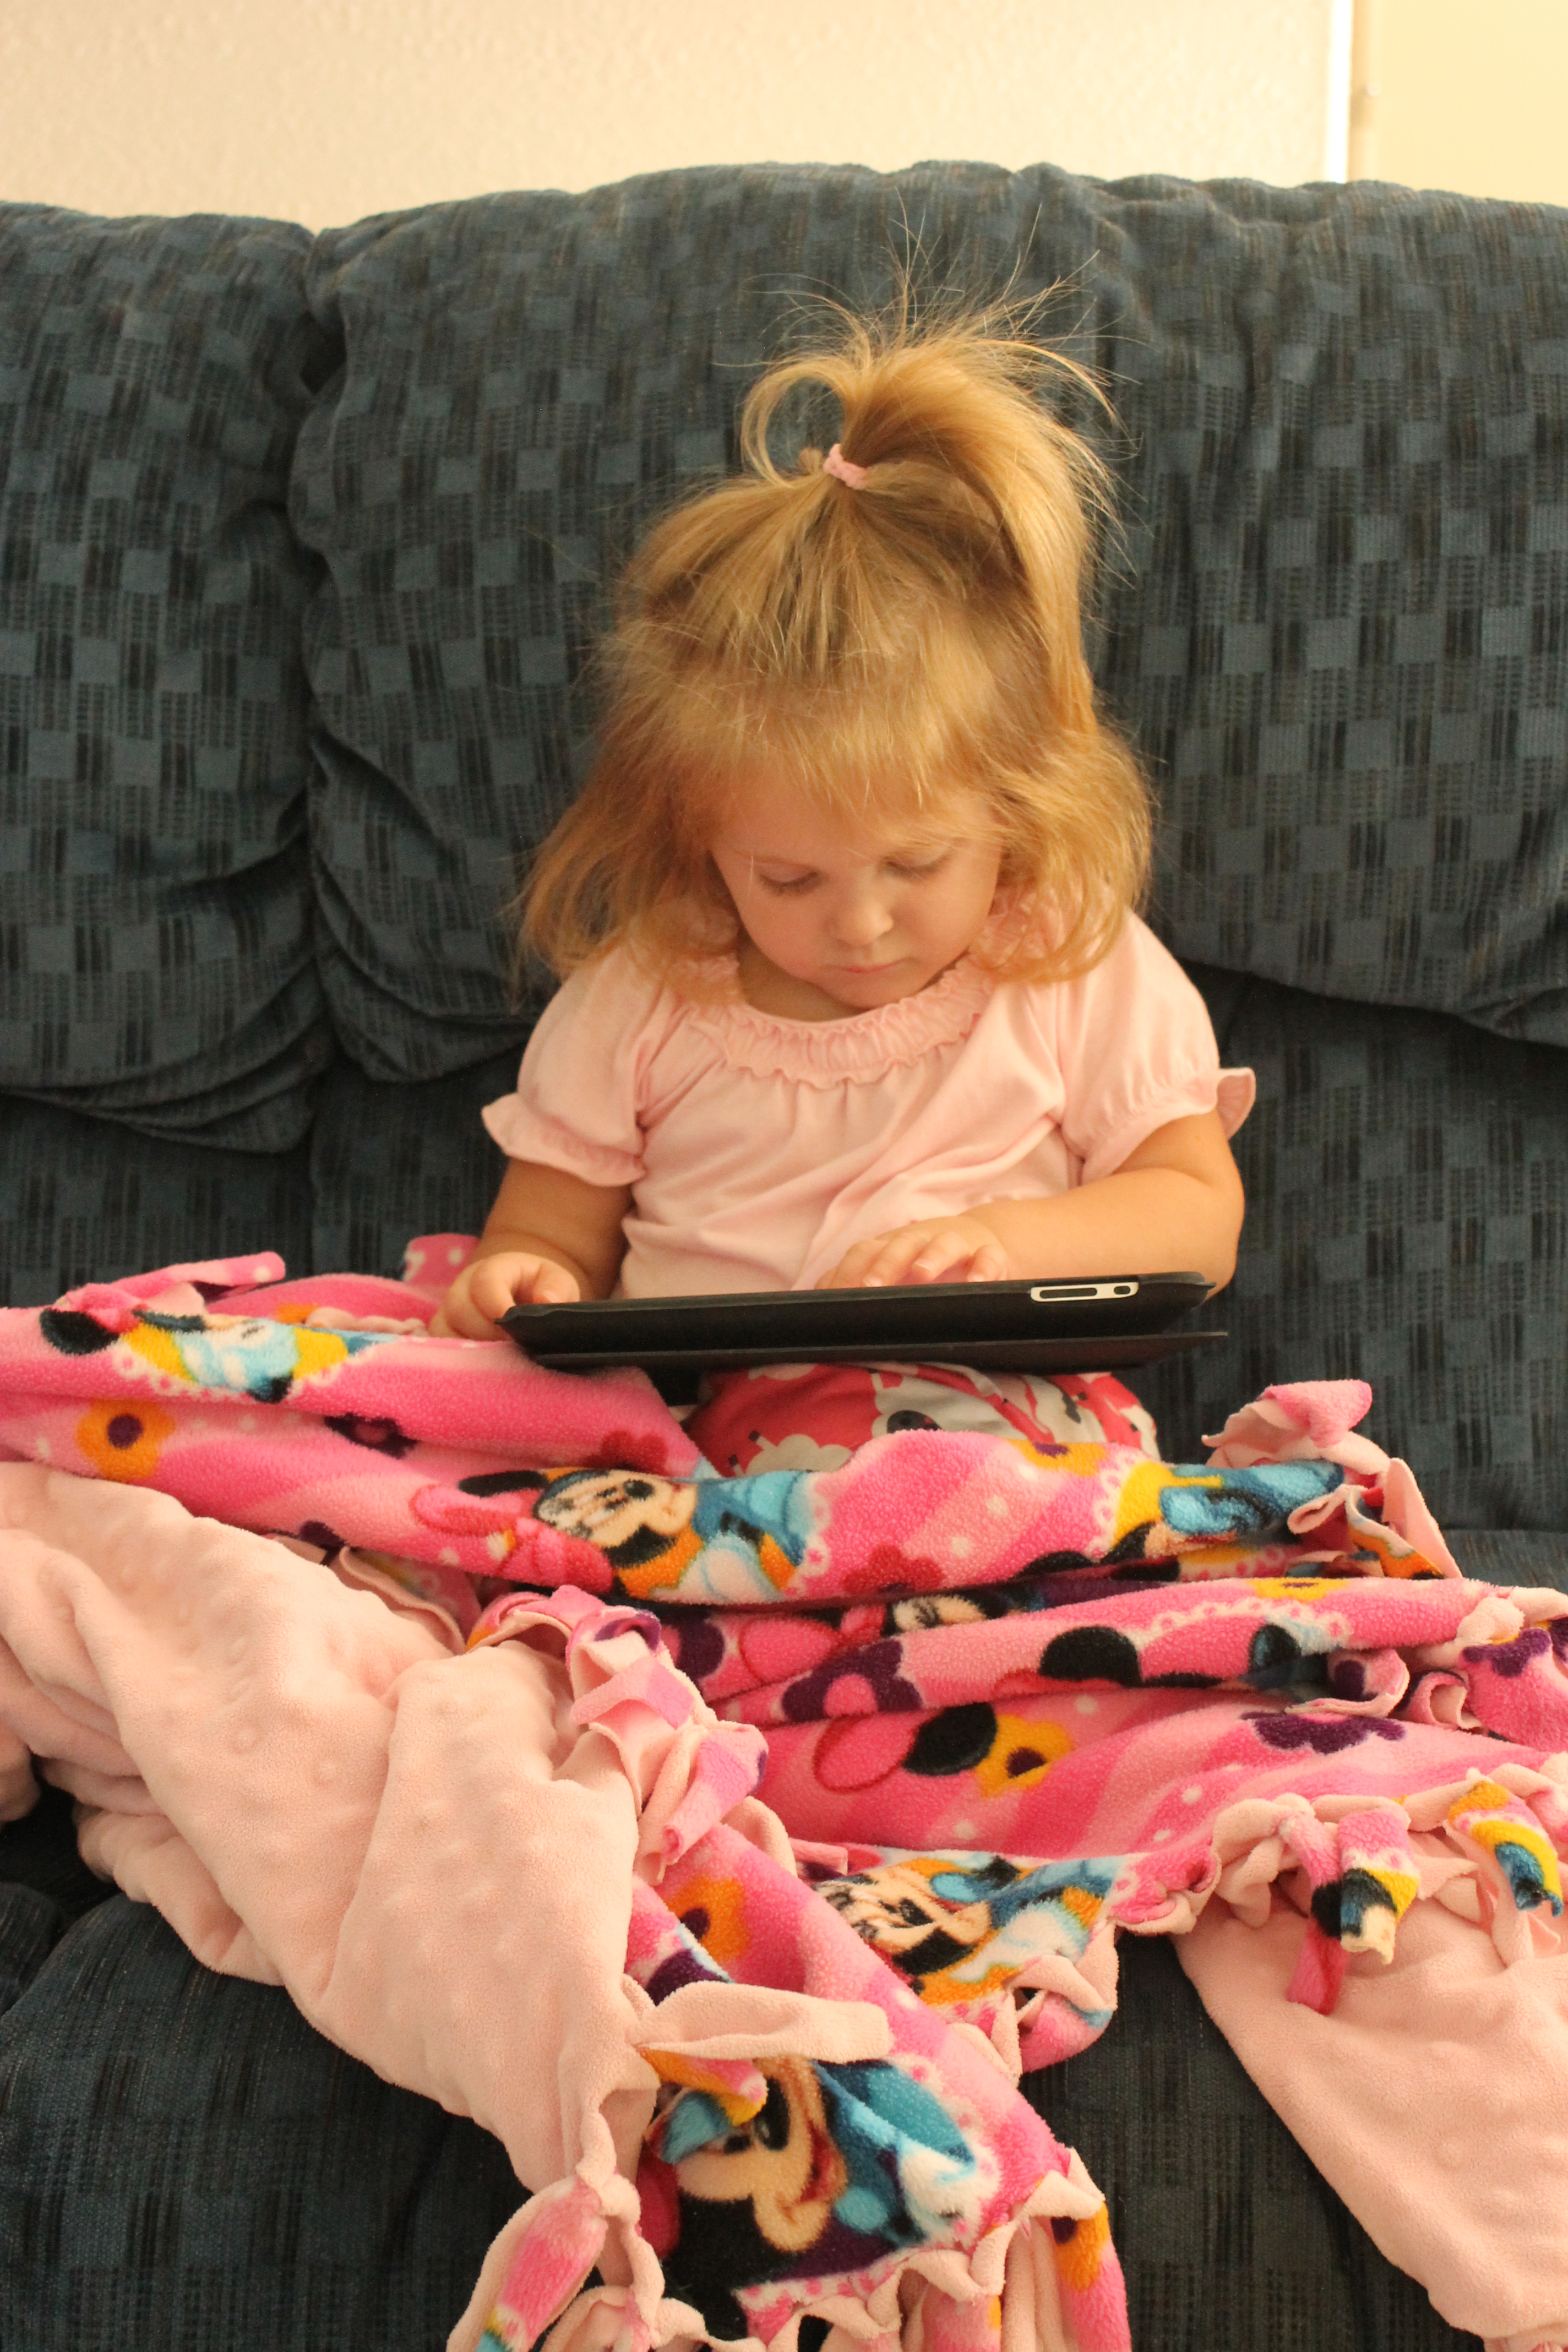
I wrapped it up, and on that cold Christmas morning when my little girl opened it up… she and I were both so excited!!! She absolutely loved the Minnie Mouse pattern and I got so excited just seeing her so excited!!! But when she turned the blanket over and started rubbing the pretty soft dots on the back, I knew it was a huge success. She just didn’t want to let go of her new blanket.
I gave her that blanket almost one year ago, and since then, it has become her “can’t–be-without’ beloved comfort Blankie. She uses it for all of her naps (even on the hot summer days!) and every night in bed. I actually made her a second blanket identical to the first one to leave at Grandma’s house for when she naps over there. I can’t tell you how much she enjoys rubbing the soft dots on the back of Minnie so gently with her fingers, or rubbing them so softly on her little face, or even just playing with the fringe between her chubby little fingers as she’s relaxing. It is a source of loving comfort for her because I tell her it’s just like having her Mommy’s arms wrapped around her every night. It is truly her favorite Blankie, and it makes me so happy to know it came from me, her Mommy!
 Directions for the Simple Soft N Comfy Fleece Blankie:
- Pick out a fleece fabric pattern you think the child will love, and then find the Soft N Comfy Dot Fabric section in your store.
- Hold up your fleece fabric and pick out the Dot Fabric that compliments the first fleece fabric.
- Have the fabrics cut to the same size. About 1-1.5 yards is plenty for a 2 year old, especially if that child likes carrying their Blankie around with them. 2.5-3 yards will be about the size of a twin size blanket (If you are making this for an older child).
- Spread the material out with one on top of the other making sure the bolder colored side (the side you want to be seen) faces out. Line up the edges of the fabrics.
- If necessary, trim the edges so they are even.
- Next, cut the fringe around all four sides of the blanket. Make the fringe about 3 ½ -4 inches long, and about ¾ of an inch apart, making sure you are cutting through both pieces of fabric. When you get to the corners, a square should be missing at each corner.
- Here is the next twist. Commonly, people choose to tie the fringe together. (To do it this way, take the back and front fringe and tie them together). I prefer a different option. I prefer the cut and flip method. I think it looks a little nicer and it sits a little better. For this option you will cut a slit in the fleece. The hole will be a horizontal cut at the end of the fringe where it meets the main body of the blanket. It is a small slit that goes across the fringe, verses going in the same direction as the fringe. Do this to every fringe piece around the entire blanket.
- Next, take the two layers of fringe together and push them through the horizontal slit and pull them through together snugly.
- After you go all the way around the blanket and the two pieces of fabric are connected completely, at each fringe pull one piece one direction and the other in the opposite direction just to tighten the pull through.
Your blanket is done! Now just a few more steps to add the finishing touches! Wash the blanket in a little baby detergent so it smells baby fresh. Hang it to dry (eventually I started just putting it in the dryer and it has held up great).
Wrap the gift and be prepare to be the hit of the party!
Visit Moms Just Want To Have Fun’s profile on Pinterest

Leave a Comment